Set Up Your Streamliner Account
New properties complete the Get Started form. Then finish the guided checklist (90-second demo + 5 settings steps + 4 post-setup checks).
This guide helps you create your first admin account or access an existing hotel, then finish onboarding.
Quick Reference
| Step | What it does | Where it happens |
|---|---|---|
| Select onboarding plan | Chooses the check-in experience and pricing tier | Get Started form |
| Verify work email | Confirms your email before account creation | Get Started form |
| Submit onboarding form | Creates your hotel profile or sends a quote request | Get Started form |
| Watch demo | 90-second overview of the platform | Welcome video after login |
| Hotel basics | Name, country, timezone | Settings → Essentials |
| PMS integration | Connect and verify reservation sync | Settings → Essentials |
| Room access | Choose smart locks or keycards | Settings → Room Access |
| Registration fields | Decide what guest details to collect | Settings → Check-In |
| Registration card disclaimer | Set signature text and rules | Settings → Check-In |
| Reservations overview | Review arrivals, stay-overs, departures | Operations View |
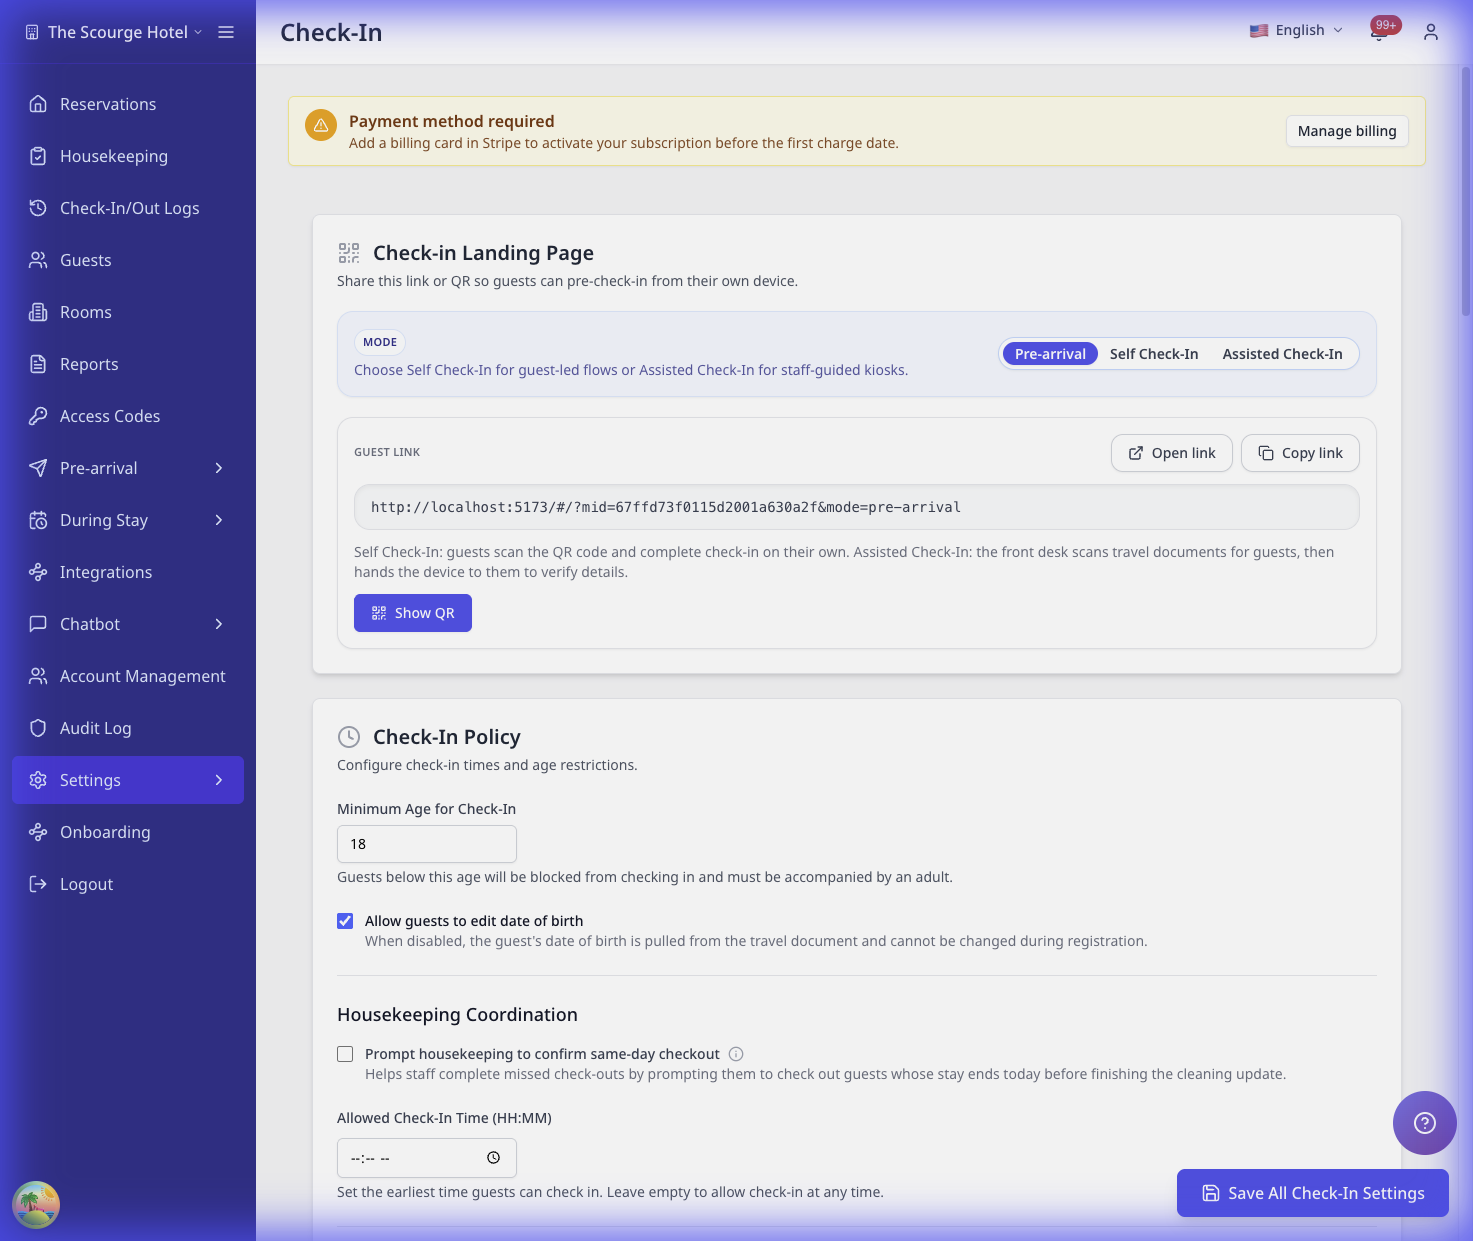
| Check-in landing | Download the QR and test check-in | Settings → Check-In |
| Billing | Add a payment method | Settings → Billing |
| Help assistant | Open support chat anytime | Chat bubble (bottom-right) |
| Invite staff access | Invite an existing Streamliner user to your hotel or organization | Account Management |
| Accept an invitation | Approve or reject an access invite you received | Sidebar profile menu → Pending Invitations |
| Login methods | Password, passkey, and email link tabs, plus separate SSO buttons | Login page |
| Password MFA | Shows a 2FA prompt on the same login screen | Login page |
| Passkey sign-in and management | Uses a saved device or browser prompt to sign in, then lets you manage saved devices | Login page and Account page |
Step 1: Create your account or request a quote (new properties)
- Open the Get Started link from your Vouch representative.
- Select a Plan and review the summary.
- Select Compare plans if you want the full feature list.
- Select Continue to account setup.
- Enter Hotel Name, Country, First Name, Last Name, Work Email, and Phone Number.
- Select Purpose of signing up and Feature you're most interested in.
- If you choose Other, fill Please specify your reason or Please specify the feature.
- Scroll inside long dropdown lists to see all options.
- If you chose Starter, Assist Pro, or Full, select Send code in Email verification.
- Enter the 6-digit code from your email, then select Verify code.
- (Optional) Select Continue with Google or Continue with LINE, then finish the provider sign-in.
- If you chose Starter, Assist Pro, or Full, enter Username and Password, then select Create account and continue.
- If you chose Ultra, select Request quote.
✓ For Starter, Assist Pro, or Full, you should see "Account created" and auto sign-in starts. ✓ You should be redirected to Onboarding → Assisted Check-In Setup. ✓ For Ultra, you should see a confirmation message and a sales contact notice. ✓ For social sign-up, you should see a social account connected message on the form. ✓ After successful verification, Work Email is locked for this signup.
Accounts created with Google or LINE use social sign-in. Use the same provider to log in.
Sign in with your new Username and Password, or use Passkey or Email link if enabled. You should return to Onboarding → Assisted Check-In Setup.
Select Change plan to return to plan selection without clearing your entries.
Your plan sets the check-in experience automatically:
- Starter, Full, and Ultra use Full check-in + Assisted check-in.
- Assist Pro uses Assisted check-in only.
You can update the landing mode later in Settings → Check-In.
Passwords must be at least 8 characters and include letters and numbers.
Enter your phone number with a country code, like +6581234567.
When you type a password, a strength label appears under the field. Aim for Good or Strong.
You must verify your email before Create account and continue becomes available. The verification code uses six digits.
If your account has a passkey, use the saved device prompt on the Login page.
If your hotel enables email link login, select Email link and use the link sent to your account email.
After sign-in, AVA sends you to the page for your role. Password, passkey, and email link all follow the same landing path.
Step 2: Sign in and watch the demo
-
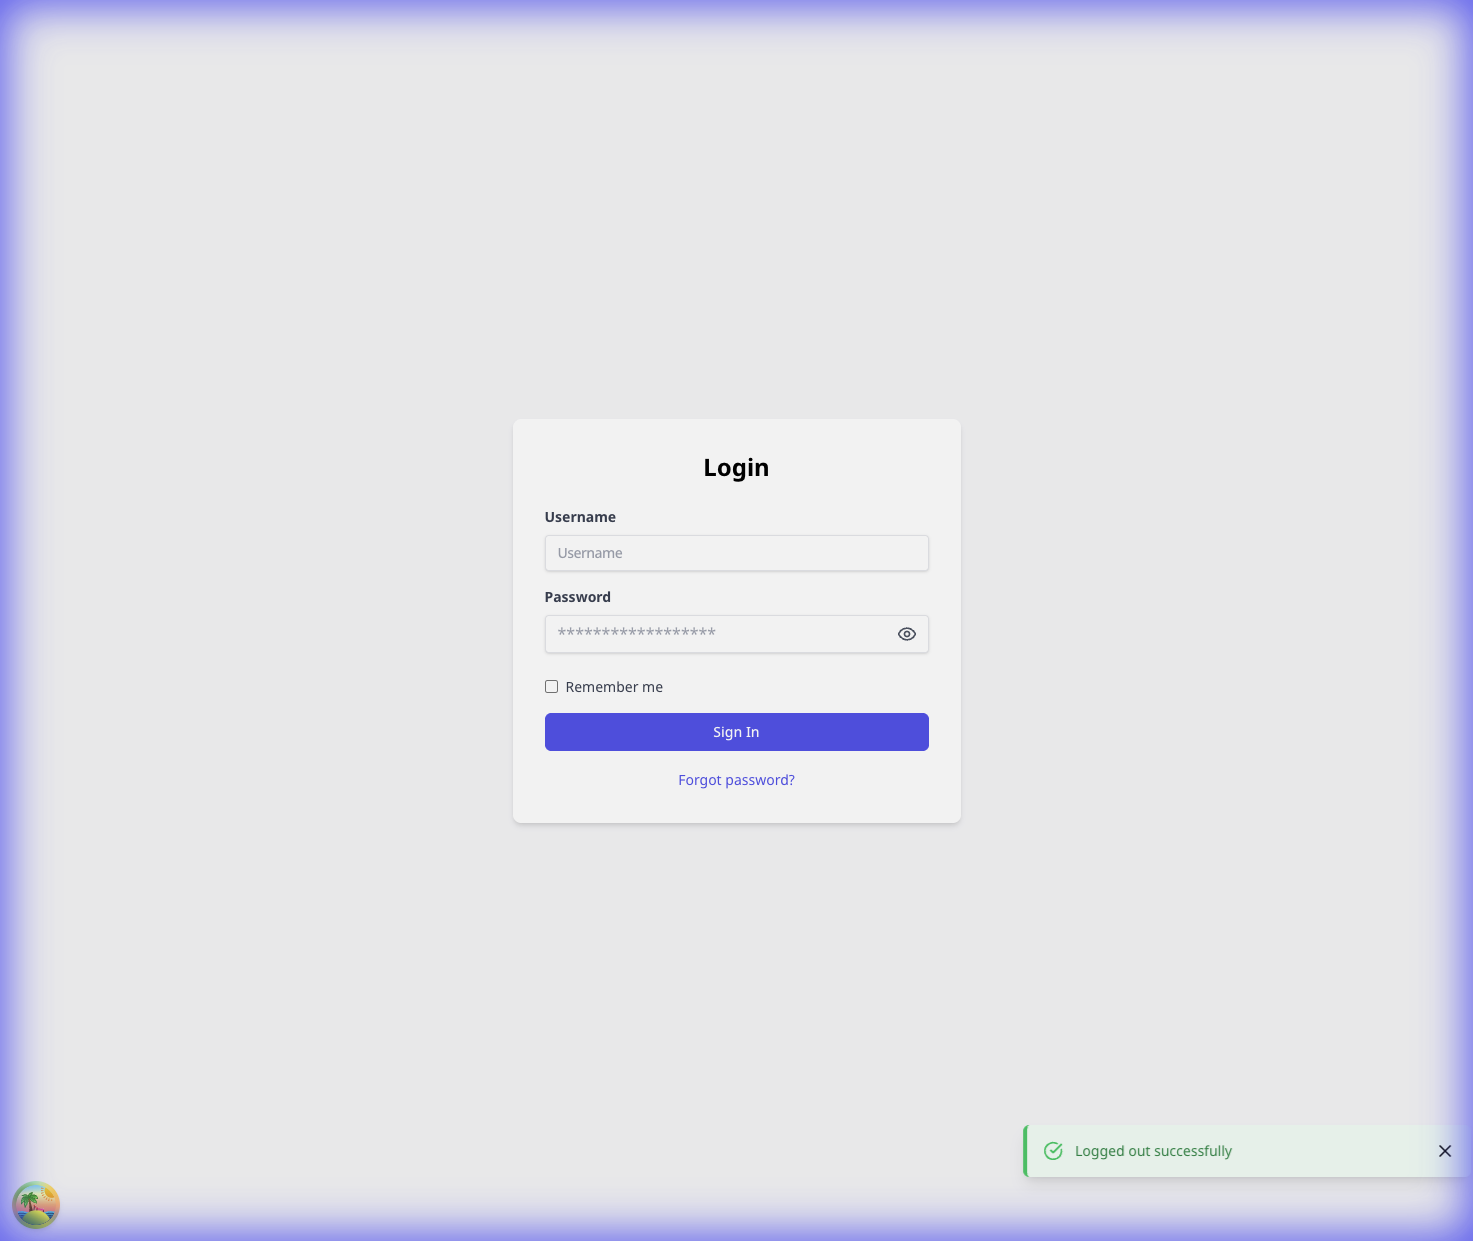
If you see the Login page, choose Password, Passkey, or Email link.
-
Enter your Username and Password on Password.
-
Or use your saved passkey on Passkey.
-
Or select Email link, then request a link with your Username.
-
Or use the buttons under Or continue with SSO if your hotel uses SSO.
-
Select Sign In if you used a password.
-
When the demo appears, choose Continue to finish it or Skip to exit onboarding.
✓ After the demo, the onboarding checklist opens on Settings → Essentials.
If password sign-in asks for MFA, stay on the same screen. Enter the 2FA code when it appears.
Selecting Skip ends the guided checklist. If you see Onboarding in the sidebar, you can restart it later.
Step 3: Complete the guided onboarding checklist
-
Use the onboarding card in the bottom-right corner.
-
Complete the step on the page, then select Mark as done.
-
Work through the steps in order:
-
Hotel basics → Fill Hotel Name, Country, and Timezone in Settings → Essentials.
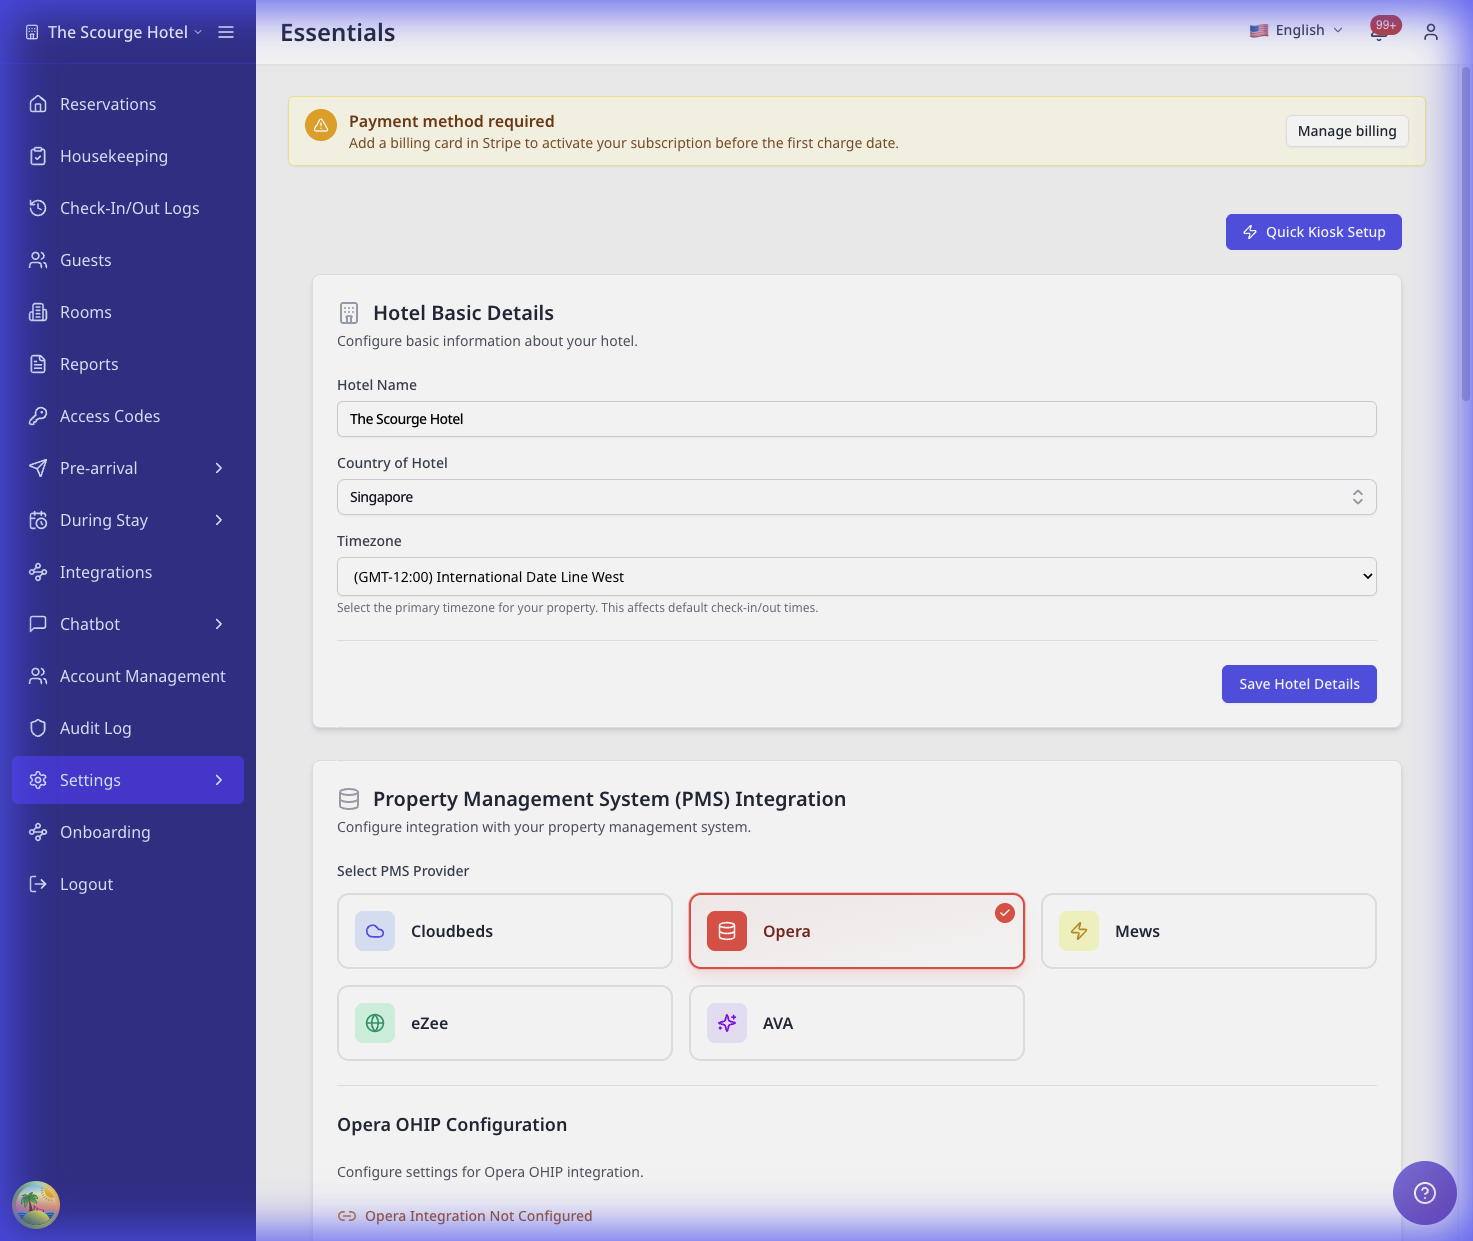
-
PMS integration → Connect your PMS in Settings → Essentials and confirm the sync.
-
Room access → Choose Smart Locks or Keycards in Settings → Room Access, then save.
-
Registration fields → Select the guest details you require in Settings → Check-In.
-
Registration card disclaimer → Update the disclaimer text and signature rules in Settings → Check-In.
-
Reservations overview → Review arrivals, stay-overs, and departures in Operations View.
-
Check-in landing → Download the QR code and scan it to test in Settings → Check-In.
-
Billing → Add a payment method in Settings → Billing.
-
Need help? Open the assistant → Open the chat bubble.
-
While onboarding is active, navigation is locked to the current step. If you try to leave, you will see "Complete the current step to unlock navigation." Select Skip Onboarding to exit.
If your account already exists (staff)
- Ask your admin for your Username and temporary Password.
- Or use your saved passkey if you already set one up.
- Or use Email link if your hotel enabled it.
- Go to Login and sign in.
- Use the hotel switcher in the top-left to select the correct property.
Add staff accounts (admins only)
-
Go to Account Management.
-
Select Add Account.
-
Enter First Name, Last Name, Gender, Username, Email, and Password.
-
Choose a Role and, if prompted, an Access Scope.
-
Select Create Account.
✓ The new account appears in the list.
Use Invite User when the staff member already has a Streamliner Username (for example, they work at another property).
Invite an existing user (admins only)
Use this when the staff member already has a Streamliner username.
-
Go to Account Management.
-
Select Invite User.
-
Enter the staff Username.
-
(Optional) Enter a Note.
-
Choose the access scope:
- Hotel access → Select one or more Hotels and a Role for each hotel.
- Organization access → Select an organization Role.
-
Select Send Invite.
✓ You see a success message. ✓ The invitation appears in User Invitations on the same page.
In Account Management, use User Invitations to Resend or Cancel a pending invite.
Accept an invitation (staff)
-
In the sidebar, click your name or avatar.
-
Select Pending Invitations.
-
Review the scope (hotel or organization).
-
Select Approve or Reject.
✓ If you approve, the new hotel or organization should appear in the hotel switcher.
Reset a password
Staff reset (self-serve)
- On the Login page, select Forgot password?
- Enter your Username.
- Select Send reset link and follow the email instructions.
Admin reset
- Go to Account Management.
- Find the account and select Edit.
- In Password Reset (Optional), enter a new password and Confirm New Password.
- Select Save Changes.
Change your password after sign in
This takes under 2 minutes. You need your current password and a new password that matches your hotel's rules.
Use this when you are already signed in and want to update your own password.
-
Click your name or avatar in the bottom-left corner.
-
Select Profile.
-
Find the Change password section.
-
Enter your Current password.
-
Enter your New password.
-
Enter the same password again in Confirm password.
-
Click Update password.
✓ You stay signed in and see "Password updated successfully".
Update password stays disabled until all password fields are filled and the new passwords match.
What you see → Fix
| What you see | Fix |
|---|---|
| "Current password is incorrect" | Re-enter the password you use to sign in. |
| "Passwords do not match" | Type the same new password in both fields. |
| "This password was used before" | Choose a different password. |
| "Password does not meet..." | Use a stronger password or ask your admin about hotel rules. |
Manage your passkeys after sign in
This takes under 2 minutes. Use it when you want to add a new device or remove an old one.
Use this when you want to review saved devices or remove a passkey you no longer use.
-
Click your name or avatar in the bottom-left corner.
-
Select Account.
-
Open Passkeys.
-
Select the button to register a new passkey, then follow the browser prompt.
-
Select Delete next to a saved passkey to remove it.
✓ You should see the saved passkey list update right away.
Keep at least one other sign-in method available. If you delete the only passkey, you may need your password.
Troubleshooting
Phone number is rejected
What you see: A warning under Phone Number or you cannot submit the form.
Fix:
- Start with
+and include your country code. - Remove letters and extra symbols.
- Use a format like
+6581234567.
Verification code does not arrive
What you see: You selected Send code but no email appears.
Fix:
- Check Spam and Promotions folders.
- Confirm the Work Email spelling.
- Wait for the cooldown, then select Resend code.
- If your email already has an account, sign in instead.
Create account button stays disabled
What you see: Create account and continue is disabled.
Fix:
- Confirm all required fields are complete.
- Select Send code and enter the 6-digit code.
- Select Verify code and wait for the success message.
- Confirm Work Email is now locked.
"Email already exists" appears
What you see: The onboarding form shows "Email already exists".
Fix:
- Use Login with that email account.
- Or select Forgot password? to reset access.
- If this should be a new account, use a different Work Email.
I do not see the onboarding checklist
What you see: No onboarding card after login.
Fix:
- Confirm you are using the admin account created during onboarding.
- If you see Onboarding in the sidebar, select it to restart.
- Ask your admin to restart onboarding if you do not see the option.
Navigation is locked
What you see: "Complete the current step to unlock navigation."
Fix:
- Finish the current step and select Mark as done.
- Or select Skip Onboarding in the toast to exit onboarding.
I cannot sign in
What you see: "Login failed", "Username and password are required", the passkey prompt does not finish, or the email link does not arrive.
Fix:
- Select Forgot password? on the login page and enter your Username.
- Try the Passkey tab again on the same device.
- Try Email link again and check your inbox.
- Ask your admin to reset your password in Account Management → Edit.
Auto sign-in does not finish
What you see: You return to Login after creating your account.
Fix:
-
Wait 10 seconds and keep the tab open.
-
Enter your new Username and Password and select Sign In.
-
Refresh once and sign in again if the page does not move.
✓ You should land on Onboarding → Assisted Check-In Setup.
Still Stuck?
Contact success@vouch-technologies.com if:
- ❌ You cannot access the onboarding form or the login page
- ❌ Password reset emails never arrive
- ❌ Onboarding steps fail to save after multiple tries
Helpful to include:
- Screenshot of the error
- Username or hotel name
- Time the issue started