Setup Checklist
Quick Setup
Plan for about 45-60 minutes. You will choose a check-in model, connect a PMS, set guest data and rules, and test a real check-in.
This checklist helps you set up AVA once and go live confidently.
Quick Reference
| Step | Outcome | Where you go |
|---|---|---|
| Choose check-in model | Self or assisted flow confirmed | Choose a Check-In Model |
| Connect a PMS | Reservations sync (or use AVA PMS) | PMS Options |
| Payments (optional) | Deposits or payments collected | Payments Setup |
| Guest data & identity | Required fields and ID checks set | Registration Fields |
| Check-in rules | Time rules and room readiness set | Check-In Policy |
| Room access | Smart locks, keycards, or lockers set | Room Access Options |
| Go-live test | One successful check-in | First Check-In |
Step 1: Choose your check-in model
Confirm which flow you will use:
Full self check-in (guest-led)
- Guests scan a QR code or use a kiosk
- Guests scan passport/ID, confirm details, and finish check-in
- Optional face match for identity verification
- AVA can issue room access automatically
Assisted check-in (staff-led)
- Staff runs the flow on a tablet
- Guests confirm details and sign on the tablet
- Staff taps Check In to update the PMS
- Optional room access can still be issued
If you are unsure, start with assisted check-in and enable self check-in later.
Step 2: Choose and connect your PMS
- Review PMS Options.
- Choose Supported PMS or AVA PMS.
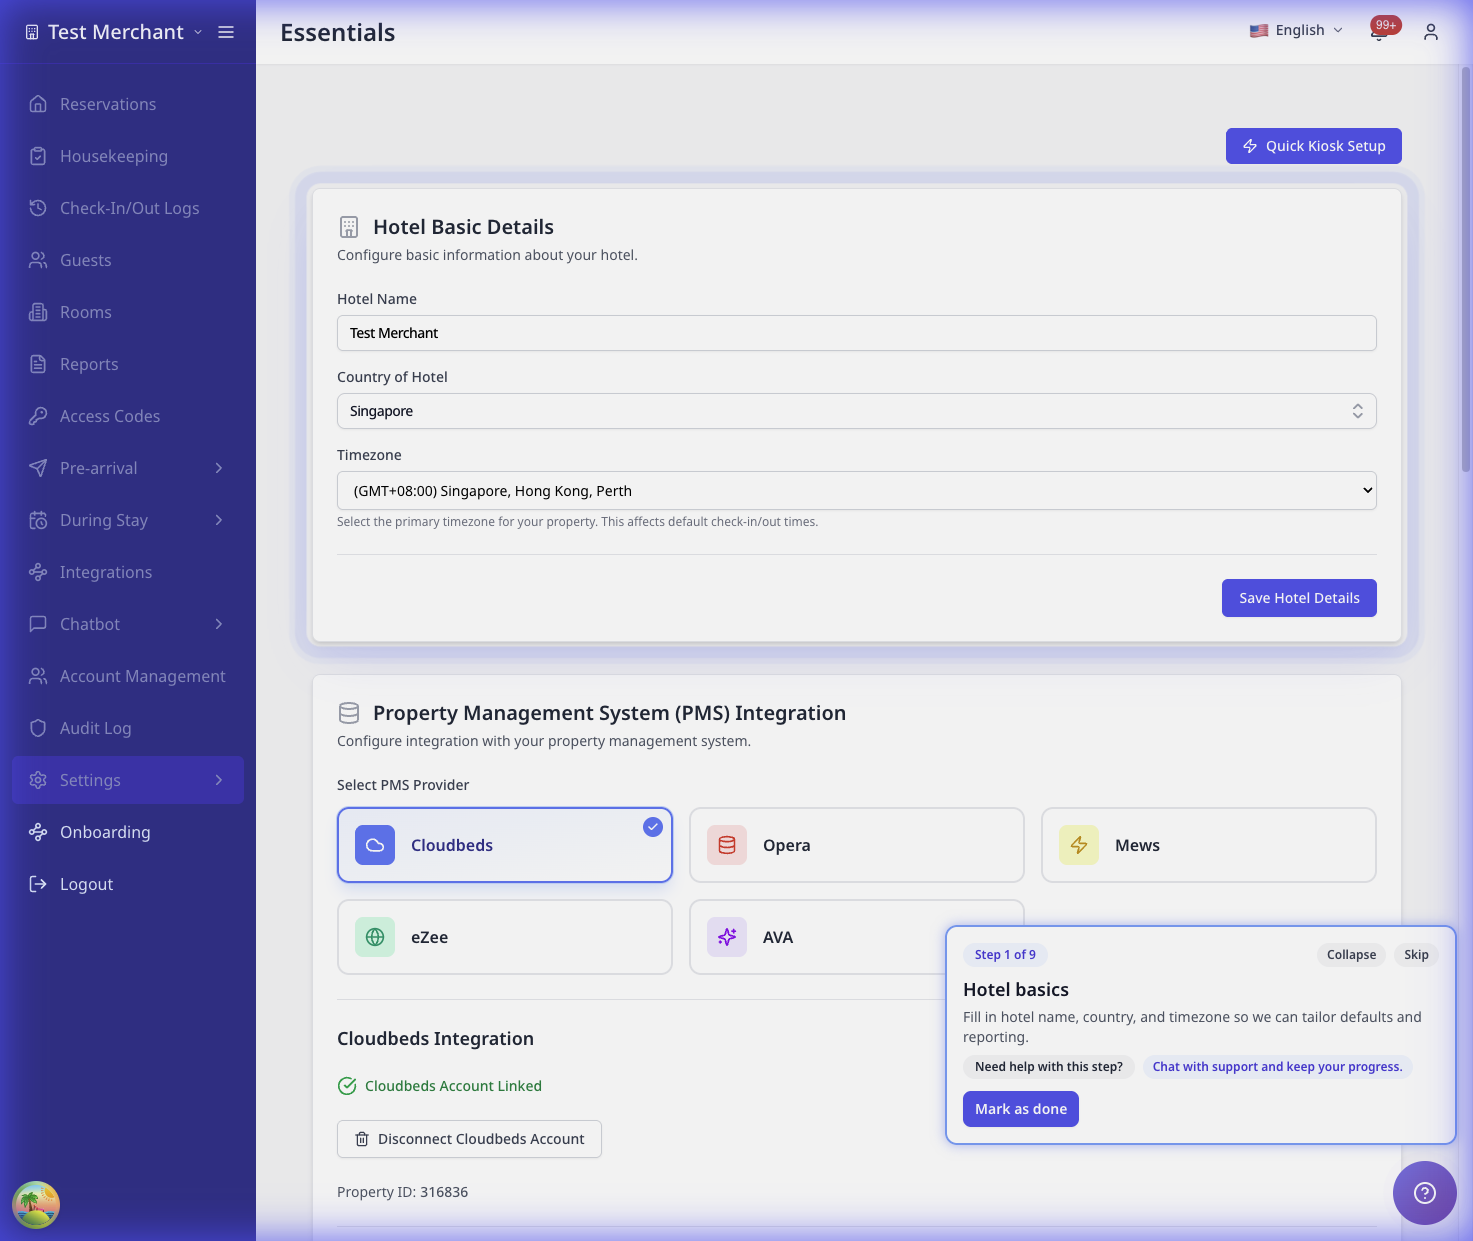
- If using a supported PMS, connect it in Settings → Essentials.
For detailed steps, see PMS Connection.
If you choose AVA PMS
- Skip the PMS connection step.
- Set up rooms and reservations directly in AVA.
Step 3: Set up payments (optional)
If you collect deposits or payments at check-in:
- Go to Payments Setup.
- Connect your payment gateway.
- Set deposit rules (amount, nights, date rules).
If you do not collect payments at check-in, you can skip this step.
Step 4: Choose guest data and identity checks
- Go to Registration Fields.
- Select the fields you need to collect.
- Set up your Registration Card Disclaimer.
- Set up Privacy Policy Acceptance if guests must accept a policy.
- Configure identity checks if needed.
Helpful pages:
Step 5: Set check-in rules and room readiness
- Go to Check-In Policy.
- Set allowed check-in times.
- Decide which room conditions are allowed (dirty, clean, inspected).
- Configure room-not-ready messages.
Helpful pages:
Step 6: Set up room access (optional)
Choose your room access method:
- Assisted Check-In: Staff-led check-in without digital access.
- Smart locks: Generate PINs for guests.
- Keycard encoders: Encode cards at the front desk.
- Lockers: Issue locker codes instead of keys.
See Room Access Options for setup steps.
If you choose Assisted Check-In, you can skip vendor setup pages.
Step 7: Run a go-live test
Complete one real check-in with a test reservation.
Full self check-in test
- Scan the QR code or open the check-in link.
- Scan a passport or ID.
- Confirm guest details and complete check-in.
- Verify room access is issued.
Assisted check-in test
- Open the reservation on the tablet.
- Scan the passport or ID.
- Have the guest confirm details and sign.
- Tap Check In to update the PMS.
- Verify room access if enabled.
Still Stuck?
Contact success@vouch-technologies.com if:
- ❌ PMS connection fails after multiple retries
- ❌ Check-in cannot complete after all steps
- ❌ Room access does not issue for test reservations
Helpful to include:
- Screenshot of the issue
- PMS name and property ID
- Time the issue started